
Planning your home’s electrical system can feel tricky. Did you know the height of outlets and proper circuits are key to safety and comfort? This guide will explain outlet placement, wiring tips, and planning for future needs.
Keep reading to make your project easier!
Understanding Electrical Rough-In Basics
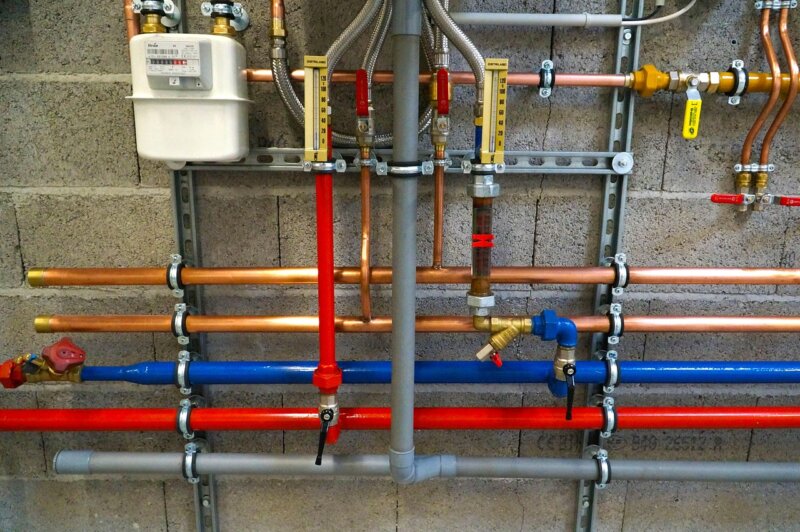
Electrical rough-in happens before walls are covered. Electricians run cables through studs, install outlet and switch boxes, and prepare areas for fixtures. Wiring must support lighting, power needs, and low-voltage systems like internet or alarms.

Boxes need to sit flush with the wall and stay securely fastened. Each box must have 8 inches of usable wire extending out with a quarter-inch of sheathing inside. Inspectors check GFCI circuits in kitchens or baths and AFCI protection across living spaces.
Outlet Heights: Key Considerations
Outlet height can affect usability and safety in your home. Choose placements wisely to suit different needs and comply with codes.
Standard Outlet Height Guidelines

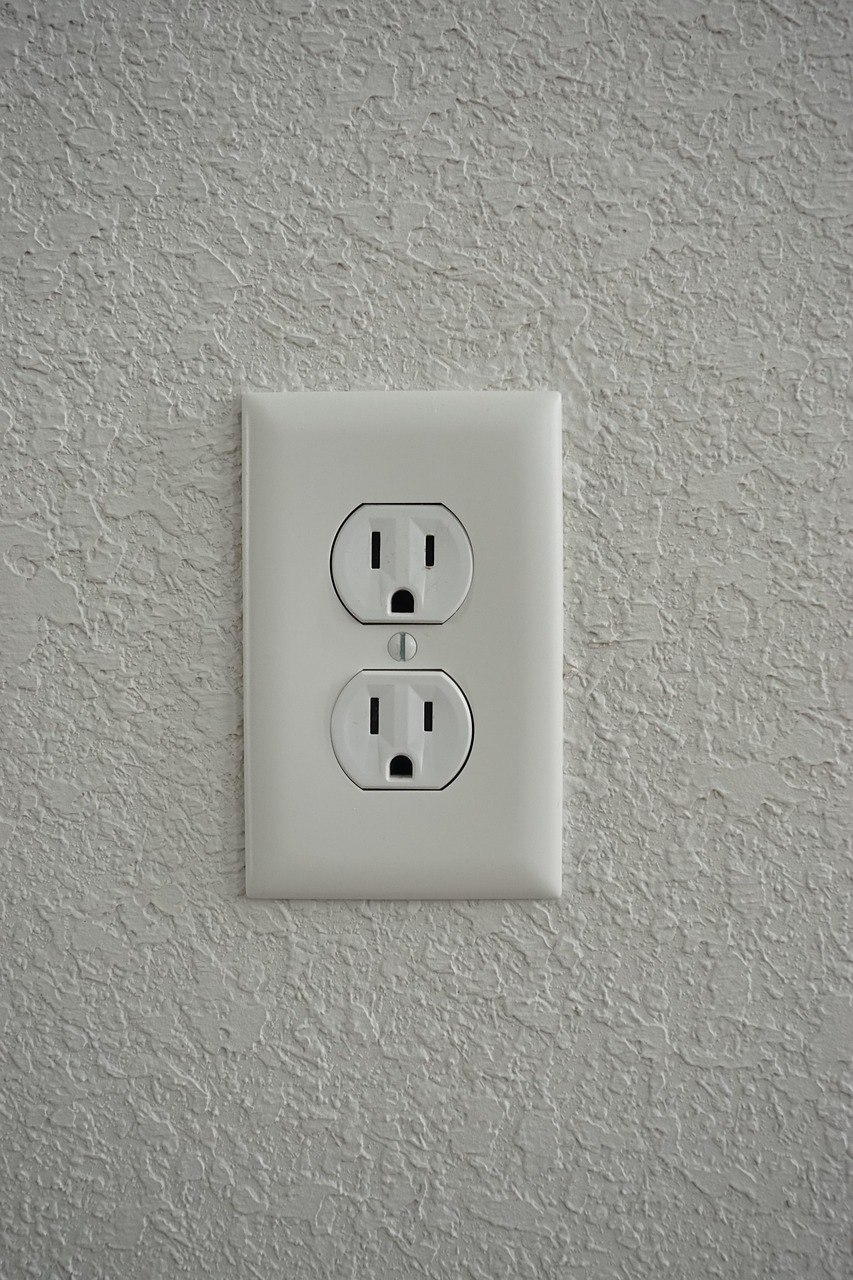
The standard height for electrical outlets is usually 16 inches from the floor. The National Electrical Code (NEC) suggests placing them 12 to 16 inches above the floor. For countertops, outlets are placed about 4 inches above the surface.
This ensures easy access while meeting installation standards.
Light switches typically sit between 42 and 48 inches from the floor. The Americans with Disabilities Act (ADA) recommends a range of 15 to 48 inches for better accessibility. Outlet spacing should follow NEC rules, keeping no more than six feet between any point along a wall and spacing outlets every 12 linear feet of wall space.
Basement Outlet Height and Code Compliance
Finished basements must follow NEC rules for outlet placement. Outlets should be 12 to 18 inches from the floor. Spacing between outlets should not exceed six feet, making sure no point is more than six feet from an outlet.

Unfinished basements allow higher outlets, often up to 48 inches. This helps with utility and equipment access. GFCI outlets are required in unfinished spaces and near water sources like sinks or sump pumps for safety compliance.
Adjusting Heights for Accessibility Needs
Outlets should be 15 to 54 inches above the floor. This is based on ADA rules for accessibility. Wheelchair users can reach outlets in this range easily. For light switches, install them between 15 and 48 inches high.
Avoid placing outlets behind fixed items like cabinets. Countertop and appliance areas may need custom heights for better access. Large or wide electrical boxes can help people with limited hand movement use them more comfortably.
Some projects may also need to show proof of ADA compliance in local permits.
Circuits: Planning and Implementation
Plan circuits wisely to handle power needs—learn how to set up for safety and efficiency.
Dedicated Circuits for High-Power Appliances
High-power appliances need their own circuits. These dedicated circuits have one outlet and one circuit breaker. They protect devices like refrigerators, ovens, washers, and air conditioners.
Most require 15 to 20 amps; some may need up to 50 amps for larger machines.
Tripping breakers can signal the need for more circuits. Overloading outlets in kitchens is another sign. Dedicated circuits lower fire risks and prevent appliance damage. Check labels on your electrical panel to find these circuits at home for better safety and load management.
GFCI and AFCI Requirements
Protecting high-power appliances also means safeguarding your entire home. GFCI devices stop electrical shocks by cutting power when ground faults occur. They are a must for 125V to 250V receptacles on single-phase circuits up to 50A or three-phase circuits up to 100A.
The NEC mandates GFCIs in bathrooms, kitchens, garages, and outdoor areas.
AFCI devices detect wiring arc faults that can lead to fires. Bedrooms and other specific spaces need these protections under the updated code. Installations of both GFCIs and AFCIs should follow NEC standards strictly, ensuring safety and compliance.
Licensed electricians handle these installations to reduce risks like shock or fire hazards effectively.
Meeting NEC Spacing Rules for Outlets
Place outlets no more than 6 feet from any wall corner, per NEC rules. This ensures no spot on the wall is over 6 feet from a receptacle. Outlets should be spaced every 12 feet or less in most areas of a room.
Finished basements follow these same spacing guidelines as “habitable spaces.” To reduce extension cord use, ensure proper placement across walls and keep walkways clear. Plan circuits carefully for functional access and safety to meet the next needs in your layout design.
Future-Proofing Your Electrical Layout
Plan your wiring to handle future tech and gadgets. Leave room for changes or upgrades later.
Strategic Placement of Conduits and Junction Boxes
Place conduits where future power or networking may be needed. Run spare conduits during rough-in to allow for upgrades later. Keep junction boxes easy to access for changes in the future.
Size conduits big enough for more wires if needed. Cap and label unused junction boxes properly. Mark box locations on a map to avoid hiding them behind drywall by mistake.
Planning for Smart Home Integration
Smart technology needs a strong electrical layout. Install extra circuits for hubs, routers, and automation devices. Use larger electrical boxes to support future upgrades. Plan ahead for low-voltage wiring like Ethernet or audio cables.
Centralized control panels help manage smart home systems easily. Place conduits in key areas to add new wires later if needed. Professional installation ensures safety and proper device integration.
Allowing flexibility for future upgrades is next!
Allowing Flexibility for Future Upgrades
Planning for smart home integration helps create an adaptable electrical layout. Flexibility allows you to upgrade without tearing walls or rewiring.
Install spare conduits and label them in your plan. These make future changes simple, like adding outlets or circuits. Upgrading panels boosts power capacity for modern needs, including EV chargers or renewable energy sources.
Use strong wiring systems that handle higher loads to save costs later. Add extra outlets now to prepare for more devices at home.
Common Mistakes to Avoid During Electrical Rough-In
Small errors can lead to big problems in your wiring project, so plan carefully. Pay attention to details early to save time and money later.
Overlooking Local Building Codes
Ignoring local building codes can lead to serious issues. Local rules may differ from the National Electrical Code (NEC). Some areas have stricter safety and height requirements for outlets.
For example, flood zones often need raised outlet heights to prevent water damage.
Poor coordination between contractors causes mistakes too. Many focus on big tasks and miss code details. Failing to meet these rules can delay projects or cost more money later. Unapproved work might also fail inspections, causing major setbacks.
Always check with local authorities to avoid violations.
Insufficient Circuit Capacity
Insufficient circuit capacity can cause big problems. Overloaded circuits may trip breakers, damage appliances, or start fires. Running too many devices on one circuit creates risks and leads to frequent power failures.
High-wattage appliances like ovens need dedicated circuits. Using the wrong wire gauge reduces electrical safety and violates codes. For example, a 15-amp circuit needs 14-gauge wire; a 20-amp circuit uses 12-gauge wire.
Planning ahead for future upgrades avoids tearing down walls later.
Poor Wiring Organization
Loose or tangled wires can cause big problems. All connections must stay inside electrical boxes to avoid damage and fire risks. Secure cables with clamps to stop wear over time. Cut wires long enough, leaving 6–8 inches in boxes for safe work and strong connections.
Wires should not be backstabbed into outlets; use screw terminals instead for better connection integrity. Plan neat wire routes and pick the right box sizes for smooth inspections.
In wet areas, keep wiring protected with proper coverings or conduits to prevent hazards like electrical shorts or fires.
Tips for Passing Electrical Inspections
Prepare well, follow local codes, and stay organized to ace your inspection—read more for detailed advice!
Preparing Permits and Plans
Get an electrical permit before starting work. This is required for renovations involving wiring or new circuit installation. Keep plans and permits accessible at all times during the project.
Show detailed drawings of your layout, circuits, and outlets to inspectors. These help verify compliance with local codes, including NEC standards. Make sure high-power appliances have dedicated circuits and that GFCI protections are included as needed.
Ensuring Code Compliance with NEC Standards
Follow the NEC rules to avoid safety issues. The code requires GFCI protection for circuits in damp areas, like kitchens and bathrooms. This protects against shocks and keeps spaces safe.
Leave at least 3 feet of working space in front of electrical panels. Label all components clearly, so they are easy to identify during inspections. Grounding systems correctly reduces hazards and meets NEC standards.
Professionalism During Inspector Engagement
Stay organized during inspections. Secure cables with staples to keep everything neat and safe. Cover all wire ends with wire nuts for a clean, professional look. Inspectors will also check cable anchoring, so ensure it’s done properly.
Seal any openings in electrical boxes to show attention to detail and safety. Consult the inspector beforehand about the inspection process. Do not install devices during the visit; this ensures compliance.
Make sure ground wires are tied together inside boxes for added safety. Use correct circuit breakers per code requirements to avoid issues.
Prioritizing Safety During Installation
Safety should always come first during electrical work. Take steps to prevent shocks and fire risks.
Proper Grounding Techniques
Proper grounding lowers risks of electric shocks and fires. It creates a low-resistance path for extra electricity to flow safely into the ground. A complete system includes ground rods, wires, and electrodes.
Grounding also keeps voltage stable and prevents electrical faults.
Using corrosion-resistant materials helps maintain grounding systems over time. Surge protectors and lightning protection systems add safety by managing sudden electrical surges. Follow the National Electrical Code (NEC) rules to ensure compliance during installation or inspections.
Installing GFCI Outlets in Key Areas
Grounding protects circuits, but GFCI outlets stop shocks before they happen. Install these in bathrooms, kitchens, laundry rooms, garages, and unfinished basements. They are required by safety codes and protect against moisture.
Place GFCI outlets within six feet of sinks or countertops for compliance. Outdoor ones guard against rain or dampness too. Hire a licensed electrician for proper installation if unsure.
This is a cost-effective way to prevent electrical injuries at home.
When to Consult a Licensed Electrician
Hire a licensed electrician for big renovations or panel upgrades. They ensure your work follows NEC guidelines and local building codes. If you need new circuits, grounding changes, or surge protection, call a professional.
Complex installations like smart home systems should not be DIY projects. Electricians can safely handle areas near water sources and fix wiring issues during maintenance.
Bottom Line
Good planning makes electrical rough-in safe and efficient. Proper outlet heights, circuits, and future-proofing keep homes ready for changes. Follow the rules, use the right tools, and think ahead.
A well-done setup saves time and money later. Keep safety first!