Building a new home can feel confusing and stressful. On average, it takes 9 to 12 months to complete most homes. This blog will break down each step to make the process easy for you.
Keep reading to learn how your dream home goes from an empty lot to a finished house!
Preparing the Lot and Foundation
Your land is the starting point for your dream home. The groundwork sets the stage for everything to come.
Securing permits
Securing permits is a must for new construction. Required permits include building, electrical, plumbing, HVAC, and grading. Costs vary by type: building permits cost $1,000–$3,000; electrical range from $10 to $500; plumbing fees run $50–$500; HVAC costs between $250 and $400; grading fees fall between $50 and $400.
Permit approval can take weeks or months. Delays impact your build timeline. In January 2025 alone, 1,483,000 home permits were issued in the U.S. Permits ensure compliance with local codes and zoning rules for safety and proper use of land.
Work without them may result in fines or halted progress. Consult local building officials early to stay compliant effortlessly.
Site leveling and preparation
Site leveling starts with clearing the land. Workers remove vegetation, debris, rocks, tree stumps, and roots. Cleared trees can be sold for extra money. Soil testing follows to check stability before laying the foundation.
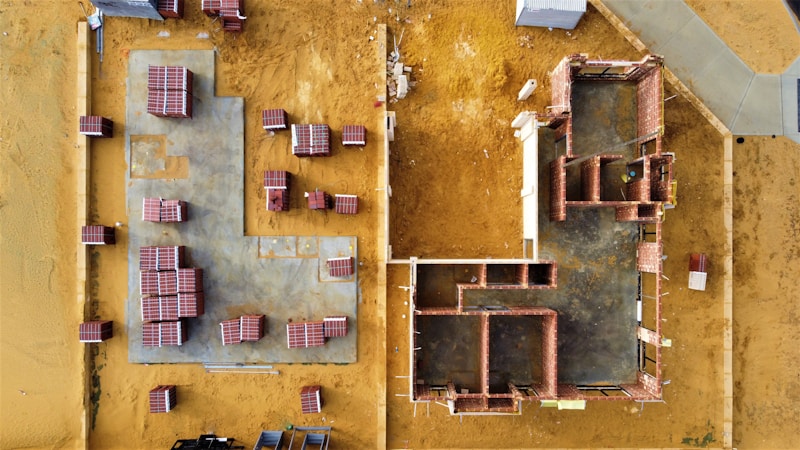
Excavation shapes the ground by filling holes and grading uneven areas. Stakes mark where the foundation will go. Proper drainage is planned to prevent water issues later. Utilities like water, electricity, and septic lines are added during this stage too.
Pouring the foundation and installing footings
Excavation starts to prepare for footings. These are wider than the foundation and must sit one foot below the frost line. Soil compaction follows to prevent settling over time. Reinforcement steel, like rebar, is added for strength.
Concrete is poured next, forming the foundation walls and footings. Curing takes 28-60 days for full strength, but work may resume after one week in good weather. A proper foundation ensures structural integrity as framing begins next.
Adding waterproofing and initial plumbing
Waterproofing comes after the foundation cures. A waterproof coating protects it from moisture and keeps water out of your home. Without this, water can cause cracks, leading to costly repairs.
Plumbers then install drains, sewer lines, and taps before filling trenches. Inspections follow to check for leaks and water pressure issues. This step ensures a long-lasting plumbing system that works well under daily use.
Framing the Structure
Framing brings your home’s shape to life, with walls and roof taking form—get ready for the exciting details ahead!
Building the floor, walls, and roof systems
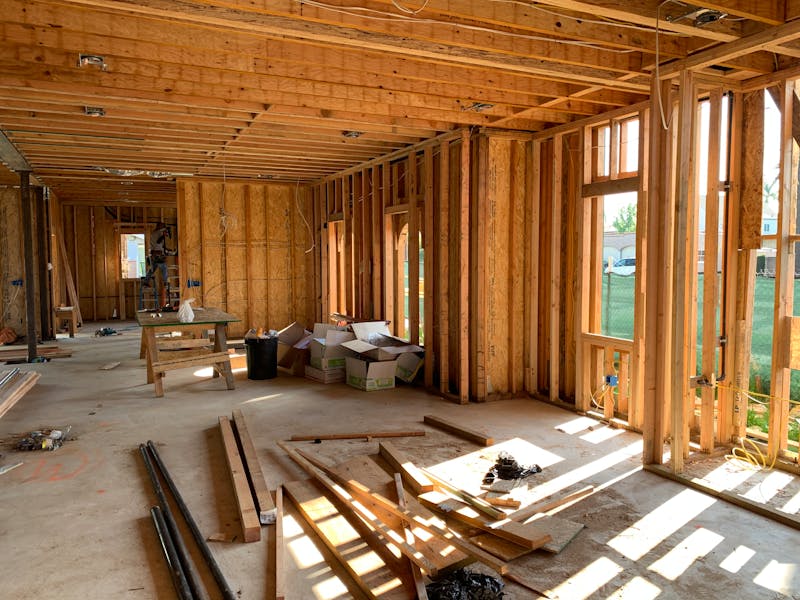
The floor, walls, and roof create the home’s skeleton structure. Builders start with exterior walls before adding floors and roof rafters. This process sets the layout of rooms. It also ensures stability for future steps like insulation and mechanical systems.
All framing materials must follow local building codes. Inspectors check the structural framework to ensure safety and strength. The entire framing phase usually takes 1–2 weeks.
This step is key to supporting loadbearing areas and shaping the architectural layout of your home.
Applying exterior sheathing and protective wrap
Exterior sheathing strengthens the frame. Most builders use 7/16-inch panels, but 1/2-inch panels add more durability. This helps with structural integrity and supports siding installation later.
House wrap goes over the sheathing to stop moisture and air infiltration. It keeps water out while boosting energy efficiency. Roof sheathing is often added at this stage too for weatherproofing.
Installing Mechanicals
This step focuses on putting in plumbing, electrical systems, and HVAC—essential parts to make your house functional.
Rough plumbing, electrical, and HVAC installation
Plumbers run pipes for water, vents, and drains to bathrooms, kitchens, and laundry. They place connections for tubs and toilets. HVAC teams install ductwork, air handlers, condensers, and trims to manage airflow.
Electricians set wires for outlets, lights, panels, breaker boxes, and other systems.
This phase needs licensed workers to ensure safety and compliance with blueprints. All work begins after the roof is secure and house wrap is done. Proper labeling of pipes or wires helps avoid future problems.
Rough-ins prepare the home for inspections before drywall goes up.
Inspection phase for mechanical systems
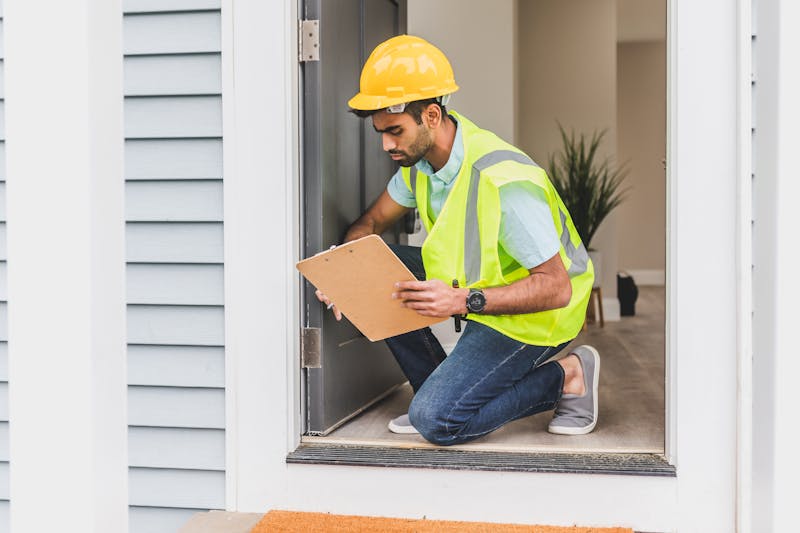
After installing rough plumbing, electrical systems, and HVAC, inspections ensure everything meets building codes. A building official checks each system separately for compliance.
These inspections confirm proper functioning and safety standards. Passing all mechanical checks is required before adding insulation or drywall. If defects are found, a follow-up inspection can be scheduled.
Communication with the builder helps fix issues quickly during this phase.
Adding Insulation
Good insulation keeps your home cozy and saves energy—find out which type works best!
Types of insulation commonly used
Fiberglass, cellulose, and spray foam are common insulation types. Fiberglass costs $0.30–$1.50 per square foot, while cellulose ranges from $0.60–$2.30 per square foot. Spray foam is pricier at $1–$2 per square foot but offers great energy efficiency.
Other materials include mineral wool, concrete blocks, and foam boards. Blanket insulation comes in rolls or batts for easy use. Loose-fill options use fiberglass, cellulose, or mineral wool particles for hard-to-reach spots.
Liquid foam has double the R-value per inch compared to traditional batts and seals air gaps better too!
Ensuring energy efficiency
Good insulation cuts energy use and saves money. Continuous insulation stops thermal bridges, boosting thermal performance. Adding thermal sheets with external awnings lowers energy use by 200 kWh.
Using Energy Star windows also improves the building envelope.
Shading from trees and proper home direction reduces cooling needs. Renewable resources like solar power reduce fossil fuel impact. Strong insulation keeps homes comfy, healthy, and sustainable.
This leads to the next step in building finishes for your home’s interior and exterior design.
Interior and Exterior Finishes
Walls get their shine, and the house starts looking like a home—read on to see how it all comes together.
Hanging and taping drywall
Drywall gets hung to cover walls and ceilings. Sheets are screwed into place over the insulation. Special moisture-resistant drywall might be used in bathrooms or kitchens. Taping follows, sealing seams with joint compound and tape.
This creates smooth surfaces.
After taping, another layer of joint compound is applied. Sanding smooths it out for painting. Proper finishing is key for neat walls later on. Local building codes ensure quality work at this stage too.
Installing siding, roofing, and exterior finishes
Siding protects the house and adds style. Choose from vinyl ($3–$12/sq ft), wood ($1–$15/sq ft), fiber cement ($5–$14/sq ft), brick ($10–$20/sq ft), stucco ($7–$9/sq ft), steel ($4–$16/sq ft), or stone ($7–$30/sq ft).
These materials vary in cost, durability, and look. All options help with weatherproofing and add to resale value. Your choice may need to match HOA or neighborhood rules.
Roofing finishes the top of your home. Common materials are asphalt shingles, metal, tile, slate, or wood. Roof installation includes sheathing below for support and protection. Combining siding and roofing ensures better insulation against heat or cold.
The next step focuses on trim, flooring, and countertops inside your home!
Trim, Flooring, and Countertops
Add style to your home with trim, sleek floors, and beautiful countertops—each step brings you closer to the finish line!
Adding interior trim and decorative elements
Interior trim completes the look of a home. It includes window sills, door trim, baseboards, and crown molding. These features are installed after drywall, painting, and flooring are done.
Trim styles and materials can make rooms feel bigger or cozier.
Decorative elements add character to spaces. Custom millwork like wainscoting or built-ins makes homes unique. Some designs may need special carpentry skills or tools. Careful installation ensures clean lines and smooth finishes for high quality results.
Next comes installing hard surface flooring and countertops!
Installing hard surface flooring and countertops
Hard surface flooring like wood, tile, laminate, and luxury vinyl adds style and durability. Flooring installation happens after trim and painting but before fixtures. Custom home buyers can choose premium materials to match their design preferences.
Countertops come in many options such as quartz at $50–$75 per square foot or granite at $40–$60 per square foot. Marble costs $40–$180 per square foot while laminate ranges from $10–$50 per square foot.
Proper care during installation helps prevent damage to these surfaces.
Mechanical Trims and Fixtures
Finish the home’s systems with faucets, lights, and appliances—bringing everything to life!
Finalizing plumbing and electrical trims
Faucets, showerheads, and toilet hardware are part of plumbing trims. These go in after painting and flooring are complete. Electrical trims like outlets, switches, and lighting fixtures follow next.
Proper installation is key for everything to work well.
Inspections ensure all trims meet code rules. Any issues join the punch list for fixes before closing. Custom options let homeowners pick styles that fit their taste. Upgrades may raise costs or change timelines but add a personal touch to the home.
Installing bathroom fixtures and appliances
Sinks, toilets, tubs, and showers are installed during this stage. Each piece is securely fitted to ensure proper plumbing connections. Builders test all fixtures for leaks and functionality before moving forward.
Kitchen appliances like dishwashers and refrigerators are also installed at this time.
Standard homes use builder-grade fixtures. Higher-end or custom homes may include upgraded options chosen by the owner. Installation timing avoids damage to finished floors or countertops nearby.
All installations must pass inspection before final approval of the home build process.
Final Touches and Landscaping
Finish your home by adding final details inside and creating a beautiful yard—your dream space is almost ready!
Installing mirrors, shower doors, and final flooring
Mirrors go up in bathrooms or custom spaces during the last steps. Shower doors get installed after tile and other fixtures are in place. Both improve the style and function of your home.
Mirrors can be customized to match designs, adding a personal touch. Shower doors also complete the bathroom’s final look.
Final flooring is done right before moving in. This includes cleaning and fixing any small issues for a neat finish. The cost to install flooring for 500 square feet is about $3,500.
Proper installation prevents problems later, making inspections smooth before you take over your new home.
Completing exterior landscaping and driveways
Sod, trees, flowers, and shrubs are planted to boost curb appeal. Hardscaping like patios, walkways, and garden walls get installed too. These features make the space functional and attractive.
Driveways and sidewalks are poured as part of this final work. Builders ensure all materials meet local codes. In some areas, landscaping must be finished for a certificate of occupancy.
Weather can delay these tasks but doesn’t stop them from being priorities.
Final Walk-Through and Closing
Check every detail during the final walk-through—this is your last chance to ensure everything meets your expectations.
Addressing punch list items
Use blue painter’s tape to mark issues during the walkthrough. Document all concerns, like chipped paint or uneven flooring, in writing. Send these items to the project manager by email for a clear record.
This ensures accountability and helps track progress.
Do not rush closing if work is unfinished. All punch list items must be done before signing papers. Incomplete tasks can cause stress later. Regular walkthroughs help with quality assurance and final inspections.
Final inspection and approval
The final inspection checks plumbing, electrical, HVAC, and structure. It ensures the home meets building codes and quality standards. Passing this step means the house is ready for a certificate of occupancy.
An occupancy permit confirms the home is safe to live in. Construction delays can change timing for this step. Buyers may also hire an independent inspector to double-check everything before closing day.
Bottom Line
Building your dream home is exciting. From finding land to getting the keys, each step matters. Stay organized and keep talking with your builder. Be ready for changes, but enjoy the process.
Soon, you’ll have a place to call home!

